I have been asked about my 6v to 12v conversion. So here is a bit of info on it.
As i am using a motogadget m-unit to run all my lights etc I threw away the old wiring loom and made a fresh new one. This meant that the cabling was able to handle 12volts without any problems.
Next I wired the CDI unit on the bike directly so that the bike could run without a battery.
Keeping the original generator coils I ran the charging lead to a 12 Volt regulator/rectifier and that in turn to a micro antigravity 12Volt battery. Next I fitted LED lights throughout the bike.
The bike hasn't had a lot of running in the dark with a lot of lights on, but it looks like the original generator will provide enough charge to keep the battery topped up.
Should I find this is not the case I will be able to connect the original light power lead to the headlight, as its currently not in use.
hope that makes sense :-)
Thursday, 22 December 2016
Wednesday, 23 November 2016
Not updated for a long time sorry..
The bike is pretty much done.. I had a few test rides the other day and it was due to go this week for its MOT test. But I have been having running issues.. Grrrr..
I need to strip the carb and re clean and check everything I'm sure I will get to the bottom of it...


Anyway here are some more pics of the bike finished.
Friday, 10 June 2016
Ok latest post.. now a bit more up to date :-)
I have had the bike running and it runs well, it now has both tyres fitted and its getting closer by the day.
I have found a place to make me a leather seat and tank strap and possibly a person to spray the tank.
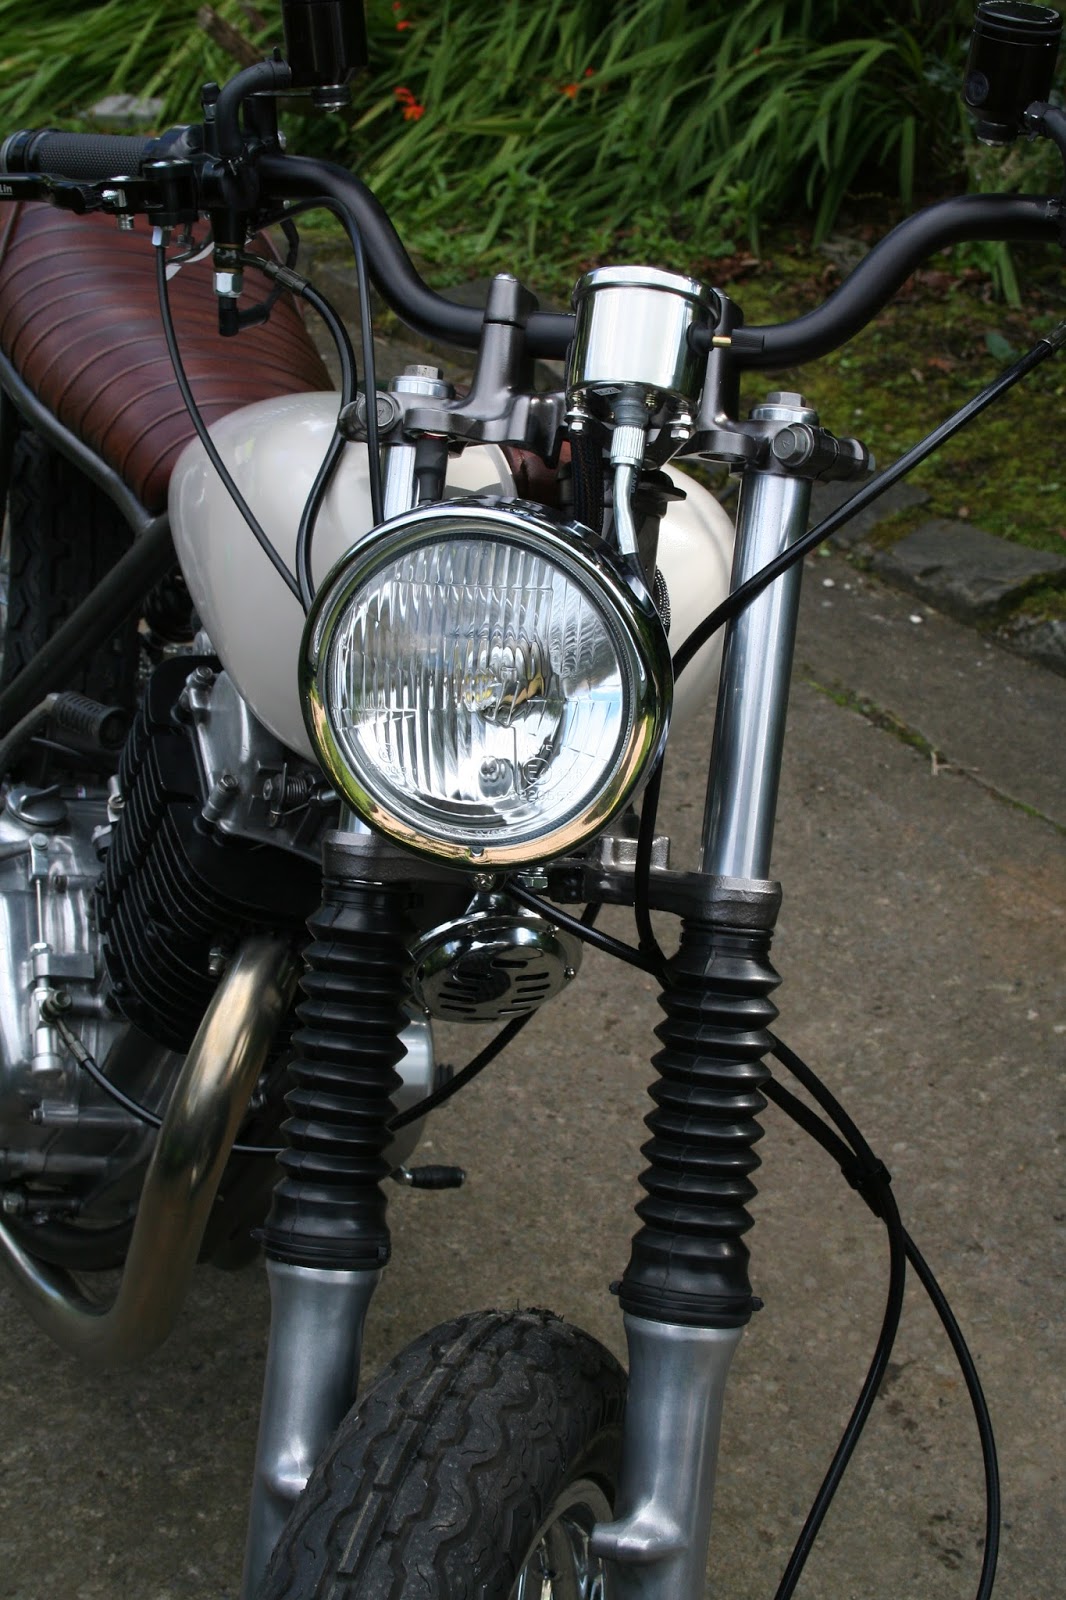
This is the latest photo of the bike.
 I have finished putting the cables through the bars for the controls. Bar end indicators help finish the clean look, but still have most of the wiring to do.

 A shot showing the battery compartment:

I have had the bike running and it runs well, it now has both tyres fitted and its getting closer by the day.
I have found a place to make me a leather seat and tank strap and possibly a person to spray the tank.
This is the latest photo of the bike.


With the frame painted I could finally make a start on the build.

Both wheels are 18inch to keep the balance of the bike looking nice.
I have also built my own seat tray and housings under that for my battery ( Antigravity micro) and my electrics.
I have opted for the motogadget unit to run all my lights etc. Its an amazing bit of kit.
http://motogadget.com/de/
 With this and the battery being so small I have manged to keep my electrics pretty well hidden, they are only marginally thicker than the frame width.

Both wheels are 18inch to keep the balance of the bike looking nice.
I have also built my own seat tray and housings under that for my battery ( Antigravity micro) and my electrics.
I have opted for the motogadget unit to run all my lights etc. Its an amazing bit of kit.
http://motogadget.com/de/

I set about chopping and de tagging the frame..
I'm not the best at welding so called to see my brother Chris for help.
 Once the seat loop was welded on and it was de tagged it was ready to paint.
I did plan to powder coat it but after the last frame I did got marked during the build I opted to spray it myself.. A nice graphite gray.
I'm not the best at welding so called to see my brother Chris for help.

I did plan to powder coat it but after the last frame I did got marked during the build I opted to spray it myself.. A nice graphite gray.
Ok so its been a while since I last updated this blog but work has been going on steadily on the GN400 Brat.


 I have been ordering plenty of new parts and have managed to source a new front wheel from China and a new rear rim. I re spoked the wheel myself and it wasn't too bad to do. When it came to righting the wheel I didn't want to spend extra on a wheel balancer so i simply fitted the wheel to the bike and put it up on the stand. Hey presto a wheel balance :-)


Friday, 6 November 2015
Ok time to add more to this blog about my new build.
It's a Suzuki GN400 brat style.
 This is the motor that I picked up for £150 complete, I was assured it runs well but will only know when I get it in the frame and fire it up.. fingers crossed it will be ok.
One of the issues I have it that I want to run my bike on 12 Volt electrics as most modern lights require it. The GN400 is on 6Volts. Having done some reading I could change the coils but for the moment I am going to leave them as is. The bike is kick start and I will only be using the power to run the lights so I am going to make a new loom and fit a 12v micro lipo battery with new rectifier. Once the bike is up and running I will see what voltage is being pushed out to the charging circuit, chances are it will be enough to keep the battery topped up.

 This is a very rough mock up of the frame and tank, frame is a US import as is the swing arm, from info that's out there and looking at pictures the rear shocks are slightly more upright than on UK versions which is more the look I am going for. Tank is off a BSA D1/D3 it will need some modifying to let it sit properly.
 This picture shows a mock up with the rear swing arm and back wheel, I have since found a brand new front and back wheel and changed the seat loop to a straight one.
It's a Suzuki GN400 brat style.

One of the issues I have it that I want to run my bike on 12 Volt electrics as most modern lights require it. The GN400 is on 6Volts. Having done some reading I could change the coils but for the moment I am going to leave them as is. The bike is kick start and I will only be using the power to run the lights so I am going to make a new loom and fit a 12v micro lipo battery with new rectifier. Once the bike is up and running I will see what voltage is being pushed out to the charging circuit, chances are it will be enough to keep the battery topped up.


Subscribe to:
Comments (Atom)